Once again, I turned to One-Hour Wargames for the scenario and army compositions. I randomly rolled scenario 5 but changed it to scenario 4, which featured defense of a hill. I chose to have Grayrock defend while the Bluderians attacked; it fit the backstory well. The objective was to hold the hill and game's end (15 turns).
After being elevated to command, General "Black Bart" Blackwell wasted no time. He hastily prepared the forces at Glumport and marched south toward the coastal road. Esquire Giovanni had established a cordon of troops around the city, ready to contest any attempted breakthrough. When the perimeter forces on Hargrove Hill saw the Bluderians marching out, they sent messengers to Giovanni's main force. Giovanni rushed to the scene, and a general battle broke out.
The forced engaged were:
- Bluderia: 3 infantry units, 1 light infantry unit, 2 cavalry units.
- Grayrock: 4 infantry units, 1 light infantry unit, 1 cavalry unit.
In addition, the Bluderians had 1 general (Black Bart) to account for their new general's aggressiveness. Giovanni was being more cautious and remained near the rear so he was not represented on the battlefield. However, to compensate and provide a little advantage, Giovanni could call on 2 Redgravian infantry units, which would come onto the field as reinforcements.
The scenario begins with 2 units of defenders on the hill. The attackers come onto the board on turn 1 and the remaining defenders on turn 2. Note that I am using my white army to represent Grayrock.
 |
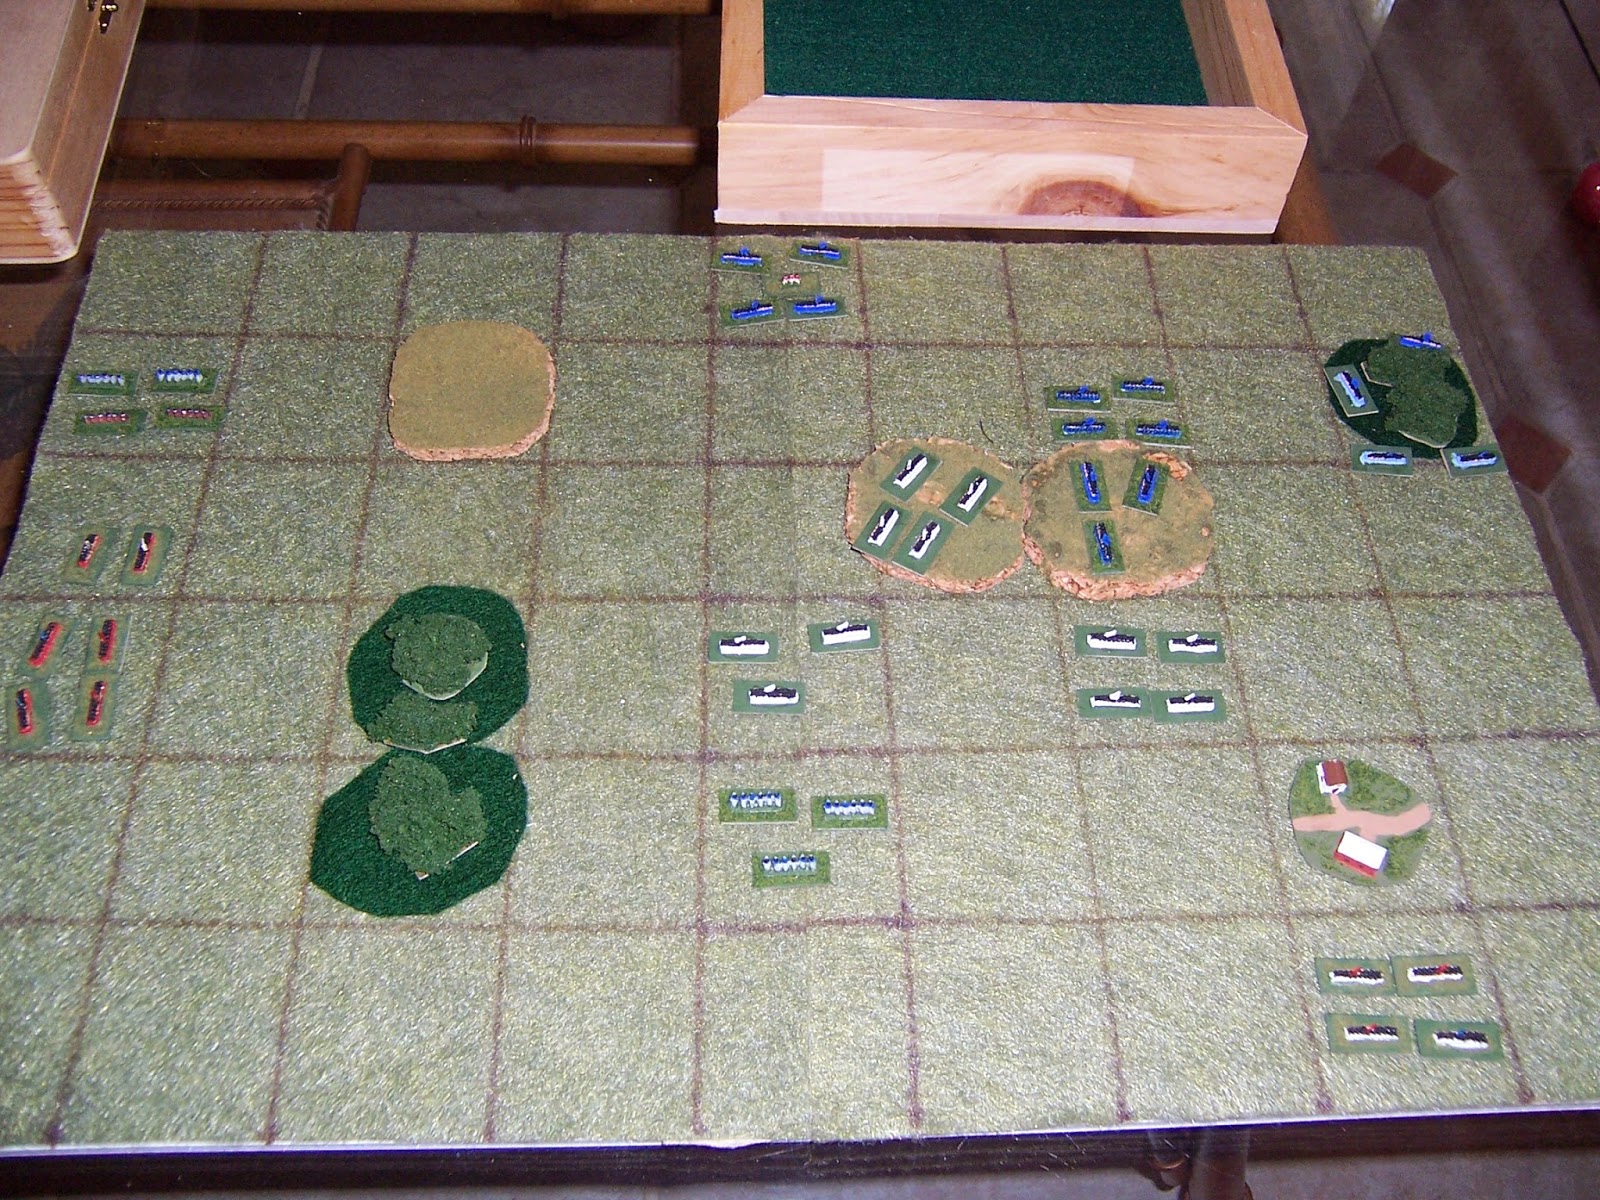
| Turn 2 - the armies arrive on the battlefield |
 |
| Grayrockian cavalry (left-center) in flight. Redgravians arrive (far left) |
 |
| Swirling battle for the hill. |
 |
| Bluderians gain a foothold on the hill's crest. Grayrock cavalry is lost. |
 |
| Charge against the Redgravians (left) |
 |
| Grayrock retreats from the hill |
 |
| Charge! Bluderian cavalry attacks the infantry (center) |
 |
| Grayrockians withdraw from the hill. |
 |
| Giovanni calls for retreat. |
Each side rolled 6 dice for activation - needing a unit symbol or sword on the Command & Colors dice to activate a unit. Throughout the battle, the Grayrockians threw horrible dice (if they only had artillery!). That's why the Redgravians were passive through most of the battle.
I used a rule that a unit could be rallied by using a sword for activation. I then rolled 3 dice with a unit symbol or sword returning a lost stand. This turned out too common and too powerful so I required 2 swords to perform a rally on a unit. I recently re-read my rules (I played off the top of my head) and realized that I did not play the rally as written. Per my original rules, an army could only perform one rally per turn and would only roll 1 die per rally. I shall have to try those rules next game.
What next for the Grayrock Revolution? Well, Black Bart messed up my plans to end the war so I'll have to figure out the next scenario.
Giovanni's forces retreated south and then turned west to fall back on the capital. Black Bart advanced along the coastal road, intent on retaking Grayrock City and ending the revolution.
No comments:
Post a Comment